How I Built My Podcast Website In Less Than 1 Hour
Ben Love is the owner of Grassroots IT and recently kicked off a podcast called The Small Business Technology Show to help share his love and knowledge of tech with business owners and IT managers. I had been a guest on his podcast and afterwards he told me how he’d been able to get podcast website up and running in less than an hour!
In this post Ben shares his step-by-step guide so you can do the same – whether it’s for a podcast website or any other, Ben’s process cuts it down to the key elements you’ll be able to follow.
Enter Ben…
Towards the end of 2014, having been inspired by some of the best, I decided to have a little bit of fun with the marketing for my IT business, and joined forces with a mate to start The Small Business Technology Show Podcast. Having never produced a podcast before we had a bit of learning and research to do.
There’s a lot of great information available online about how to produce your own podcast, but the one that we found helped the most is by Pat Flynn over at Smart Passive Income, where he offers great advice on everything from what microphone to use, to where you should host your podcast files.
Pat’s advice really helped with the podcast itself, but what we also needed was a new website where we could post show notes for each episode, allow listeners to subscribe for email updates, and so on. Here’s how I setup our new website in less than one hour.
Overview of Steps
Maintaining and fine tuning a website can be a never ending process for some people. There’s always changes and improvements that can be made. Getting your website online in the first instance though can be surprisingly quick and easy.
Here are the steps that I followed to get my new website up and running quickly.
- Register a domain name
- Create a web hosting account
- Install WordPress
- Choose a WordPress theme
- Create a custom banner
- Add some static pages
- Add a post
Read on to find out how quick and easy this process really can be.
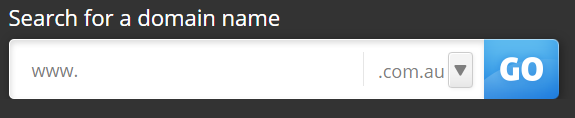
Step 1 – Register a domain name
Your domain name is how people will find you on the internet. For example, the domain name that I registered for my new podcast was “TheSmallBusinessTechShow.com” (NB: Domain names aren’t case sensitive. I just wrote it like that to make it easier to read).
To register a domain name, head on over to a Domain Registrar website, such as www.netregistry.com.au. The first thing to do is to use the search field to search for a domain name that you want to register.
It took me a few minutes to find a domain name that I liked that hadn’t already been registered by someone else, but in the end I was pretty happy with the one that I chose.
To finalise the registration of my new domain name I had to provide some information to the domain registrar, such as my contact details, and of course credit card information.
Once that was done I received an email confirming the details of my new domain name, including the period of time that my registration was valid for (in this case I chose to register and pay for 2 years).
Expert Tip: If you are trying to register a domain name ending in .au, you will also likely be asked to provide some proof of connection with that domain name, such as a business name registration matching the domain name in question. This step usually isn’t required for domain names without .au on the end.
Step 2 – Create a web hosting account
Having registered my new domain name, I now had the right to use it, however I didn’t actually have anything online yet, such as a website or email addresses, so the next step was to create a web hosting account connected to my new domain.
A lot of web hosting these days is highly commoditised with very little differentiation between providers, so if the provider where you registered your domain name also offers web hosting, that will probably be the quickest and easiest place to also get your web hosting from.
There is a massive range of web hosting options available, but the main thing to check is that your new web hosting account will come with the ability to automatically install WordPress (which most do). Beyond that I would recommend starting with a cheap, basic plan that you can upgrade later if needed.
Here’s an example of what’s included in one of Netregistry’s basic hosting plans, which would be most than sufficient for my needs.

Creating a new web hosting account is super quick and easy. Just select which plan you want to purchase (in this example I’ve chosen the Basic cPanel Hosting plan), enter your new domain name when prompted, then follow the prompts to finalise the purchase.

Once I had finished paying for my new web hosting account I again received an email containing important details on my new account, such as the username and password that I would need to logon.
Step 3 – Install WordPress
So now I had my new domain name registered, and I also had a new web hosting account ready to go, but if I used my web browser to browse to my new website address (www.TheSmallBusinessTechShow.com), all I saw was a generic ‘coming soon’ type page.
My next step was to get the WordPress software installed into my new web hosting account, and to do this I needed to access CPanel. CPanel is the ‘control panel’ software used by most web hosting accounts, and is where you can setup email addresses, plus a whole lot more. What I needed to do was to logon to my new CPanel system and tell it to automatically install WordPress, which I would then use to create my actual website.
Using the logon details that I got when I setup my new web hosting account I was able to easily logon to CPanel and find the icons that let me automatically install WordPress. In my particular CPanel I had some obvious icons that I could click to start the WordPress installation process. Depending on your chosen hosting provider your icons may look a little different, but you should still have the same functionality available.
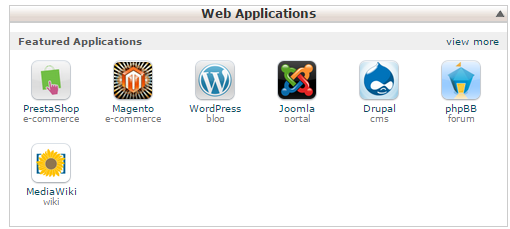
I clicked on the WordPress icon to start the automatic installation process. There were a couple of basic pieces of information that I had to provide, including a password for my new WordPress administrator account, but all of the other settings I left as default.
The installation process was super quick, and only took about 60 seconds to complete, after which I was presented with some important information, including details of how to logon to the admin area of my new WordPress website.
Step 4 – Choose a WordPress Theme
Now things were really getting exciting! With my new installation of WordPress in place, here’s what I saw when I opened my web browser to my new address of www.TheSmallBusinessTechShow.com.

Not very impressive, was it? The look and feel of any WordPress website is set by what’s called a ‘Theme’, and the default theme that is installed with WordPress is pretty basic, so it was time to choose a new theme to install, which is surprisingly easy.
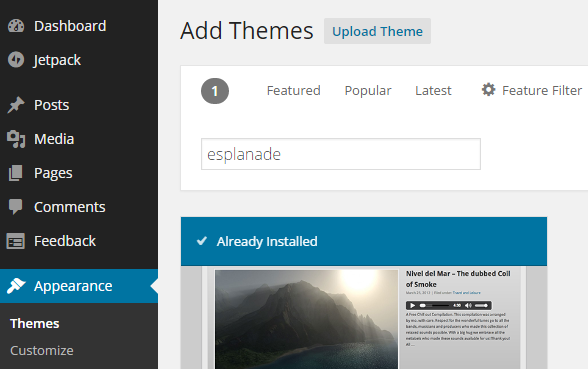
If you google for ‘WordPress theme’ you will see that there is a huge number of themes available on the internet, both free and paid, depending on what you’re after. In my case I chose a free theme called Esplanade.
The installation process for my new theme was remarkably easy. After logging on to the admin section of WordPress (often referred to as wp-admin), in the main menu on the left-hand side I clicked on Appearance, and then Themes. From this screen it was a simple process of using the search box to find the Esplanade theme that I wanted to use, and then clicking on the Install button to start installation.
Once the installation completed, here’s what I saw, confirming that my new Esplanade theme was installed and ready to go.
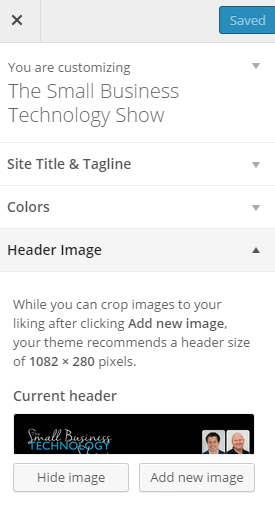
Step 5 – Create a custom banner using Canva
A banner is the single large horizontal image that a lot of websites have along the very top of the home page, usually displaying the name of the website, and other important information. For my new website I wanted to add a banner with the name of our podcast, as well as a photograph of both myself and my co-host.
Now I was pretty much born without the ‘graphic design’ gene that a lot of others seem to have, which is why I’m such a big fan of Canva. If you haven’t tried Canva yet, you really should. I lets design-challenged people like me create amazing images and graphics for all sorts of uses such as Facebook banners, blog images, and so on.
I was already signed up with Canva (it’s free), so after I had logged on I clicked on the ‘use custom dimension’ button and entered the specific dimensions that my new WordPress Theme (see above) required to start my new creation.

I won’t go into detail here about how to use Canva (we might save that for another day), but once I was happy with the new image I had created, it was a simple matter of clicking on the ‘Customize’ button for my Esplanade theme, and uploading the image file created in Canva by following the prompts.
Expert Tip: Before creating your banner, check to see if your chosen WordPress theme requires specific banner dimensions. If it does, and you use the wrong dimensions, your website will look odd.
Step 6 – Add some static pages
WordPress was originally designed to be used for blogs, which in turn are based around an ever changing stream of blog ‘posts’. Indeed this was exactly how I was wanting to use my new site, with a new ‘post’ being used to promote each new podcast episode.
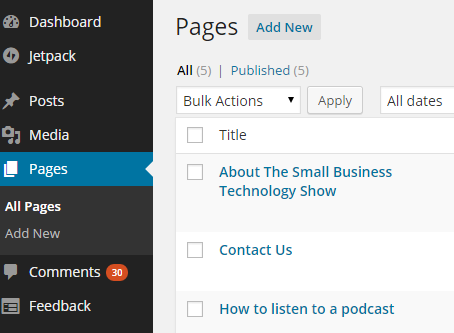
However I did still need some ‘static’ pages of content, such as a ‘Contact Us’ page, and a ‘How to listen to a podcast’ page. Thankfully creating static pages in WordPress is super easy.
Still in the wp-admin section of my new site, in the main menu down the left hand site, I clicked on Pages, and then All Pages, to confirm that there weren’t already any pages there. Then I just clicked on the Add New button at the top to get the the ‘Add New Page’ screen.
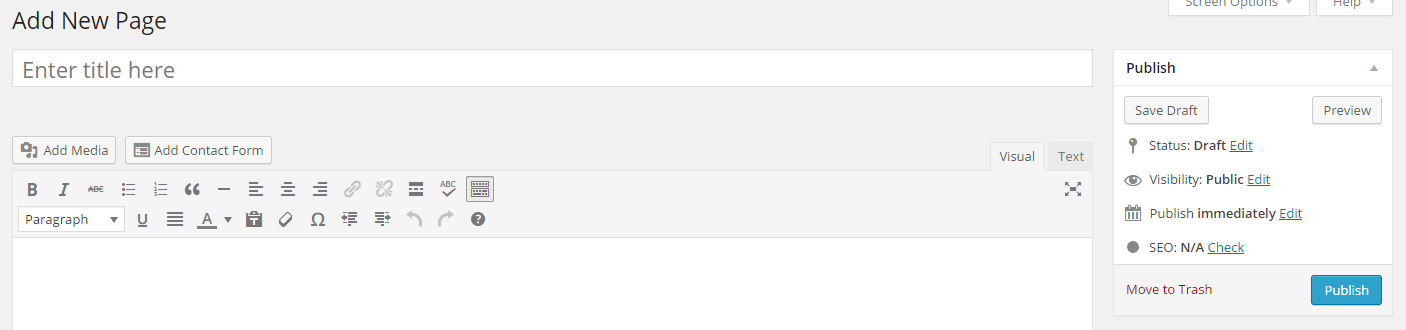
Adding and designing a page in WordPress can be as simple or as complicated as you want to make it, but at the very least, you just need to type in a title for your page, some words for the main content of the page, and then click on the ‘Publish’ button to make your new page appear on your website.
Pages can also include images, movies, links, and all sorts of fancy formatting. If you need help with any of that, I would suggest doing a quick Google search, as there is a huge amount of information available online.
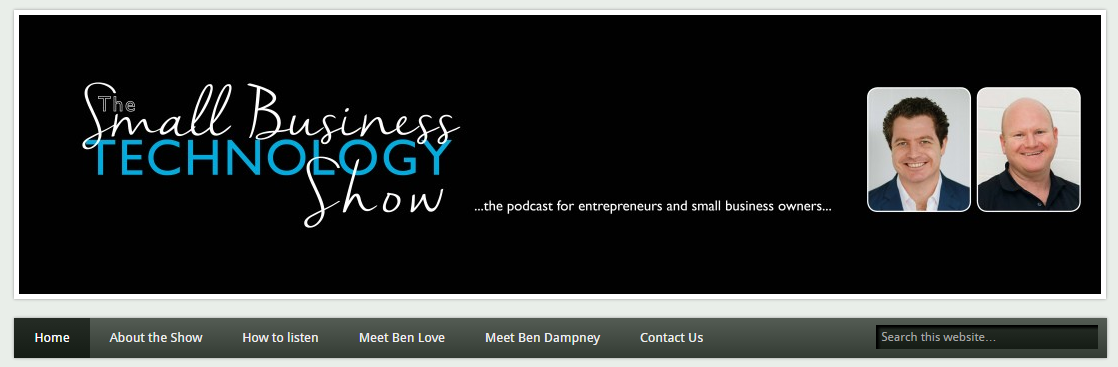
Depending on the theme you have chosen you will see a link to your new page appear in the website menu. This is what my banner and menu looked like once I had added the pages that I wanted.
Step 7 – Celebrate and add your first post!
Amazingly enough, I now had a fully functioning website for my new podcast, complete with my chosen theme, custom designed banner, and some static pages. But hang on….the whole point of this was so that I could promote each new podcast episode as it was released, and I haven’t done that yet.
This was where WordPress ‘posts’ came in. For each new episode I needed to add a new post, an excerpt of which would automatically appear on the front page. Adding posts in WordPress is almost exactly the same as adding a page (see above), it’s just that it then appears in a different area of your site, so in the main WordPress menu I just clicked on Posts, and then on Add New, and was presented with a familiar looking page, almost identical to when I had created my static pages.
Next Steps
At this point my new website was up and running, and the whole thing took less and one hour to complete. There was so much more though that I wanted to do though, so let me leave you with a few of the things that were still on my “to do” list for my new website.
- Install some WordPress plugins to provide extra functionality, such as Akismet to help protect against comment spam, and Jetpack for extended WordPress features.
- Optimise the site for Search Engine Optimisation reasons.
- Investigate WPCurve to help with ongoing maintenance and changes to the site.
- Promote the new Podcast and website to my existing audience through my blog and regular email newsletter.
- Create a new Social Media Plan to promote the new podcast and website

Ben love spends a large part of his time running Grassroots IT, the Brisbane based IT Consultancy and Managed Services Provider that he co-founded in 2006 with his wife Annie. When he can find free time he loves photography, running, and learning how to grow a vegetable garden. The Small Business Technology Show is for passionate entrepreneurs, founders and small business owners. Connect with Ben on Twitter @_BenLove.
Content Marketing Sales Funnel
Your content marketing sales funnel is all about getting people to know, like and trust you by nurturing them with the right information at the right time.
- Guide To Email Marketing Strategies 2022! Learn. Practice. Execute […] subscribers like and are willing to give
- 7 Effective Email Marketing Strategies Can Convert Traffic To Leads - richieblogs […] subscribers like and are willing to give
- 5 Tipps für erfolgreiches E-Mail-Marketing - Robin Weinmann […] gratis bekommen. Diese Tatsache sollten
- Lifecycle Marketing vs. Traditional Sales Funnel - MarketingProfs.com - Gossip Buz […] map how customers will remain in your ma
- Fake negative comments – Bluewire Media – wolfgangherfurtner […] Source link […]